


OCS/ECS - Walker
AGA - Blake Stone: Aliens of Gold

Introduction
One of the major issues facing returning or new Amiga users is displaying the video output. This instalment of the beginner’s series touches on the technical issue itself then presents some solutions that people in the Amiga Retro Brisbane use.
Disclaimer
This article makes reference to modifying the Amiga or other hardware. While the author believes all the information contained here is correct, please conduct your own research prior to beginning any electronics work and please do not undertake an electronics project if you are not confident and not prepared to risk the destruction of whatever you are working on. CRTs contain high voltages and should only be worked on by experienced personnel. The author and all other members of ARB, and any of our affiliates, do not accept any liability arising from this article including personal injury. All electronics is carried out at your own risk. You have been warned!
Any prices referenced are correct as of November 2019.
Amiga Video
The Amiga’s standard video output in Australia, the UK, New Zealand, and Europe, is a PAL 4096 (12-bit) colour at various resolutions with a 15 kHz Horizontal Sync* (being an Australian site we will focus on PAL machines in the beginner’s series). This meant that the Amiga’s video output was compatible with the CRT televisions and monitors of the day. This also means that it is NOT compatible with modern televisions or modern monitors, including most VGA monitors from the 1990s and 2000s, which require a 31 kHz input. The video port itself also presents an issue, being pretty much the only device in the world that uses a D-sub 23 port. Thanks Commodore!
*AGA and ECS Amigas can be made to output a VGA compatible 31 kHz signal, but this is really only useful for software that will run under Workbench 2.0 or greater. It will not work for most games, which are hard-coded to run at 15 kHz.
Solutions
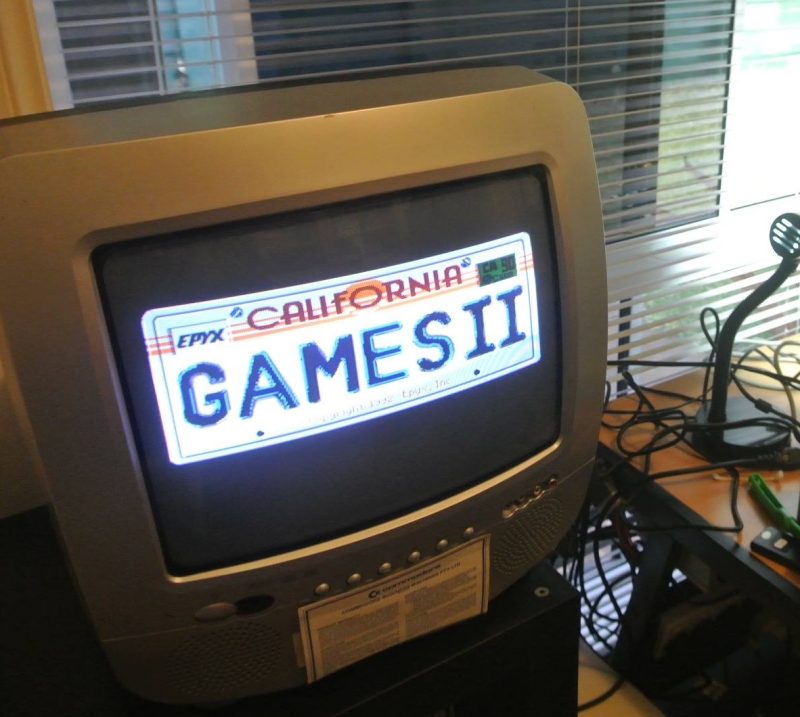
15 kHz CRT monitors

Amiga 500 Plus with 1084S monitor
If price is no object or your Amiga came with the original monitor then use it, that's what it's for! Commodore and other vendors produced 15 kHz monitors and multisync monitors (monitors that can display 15 kHz and VGA) that are designed for the Amiga. They are the easiest solution since there is no requirement to make a cable, and they are the only solution to people who are interested in historical accuracy.
SAFETY – do not open a CRT monitor unless you know what you are doing. They contain lethal voltages inside that do hurt and can kill. If you are unsure please seek help from someone who knows what they are doing.
While it is the best solution bear in mind that the monitor’s lifespan is limited by a few factors. If the monitor has the original capacitors it is important to replace them BEFORE they fail as a failure can cascade to a failure of the flyback transformer, which steps the voltages up from the input level to 11 kV (or more) for display on the tube. The flyback itself can fail, and while it is possible to replace it the job is not for the faint of heart. The CRT itself also has a limited lifespan before the phosphor on the inside of the tube wears out. This will dim the display over time, and while increasing the intensity will increase the lifespan at the expense of the monitor’s crisp image it will not last forever.
Many other computer systems of the day, including Apple II and Atari ST machines, as well as arcade machines, use a 15 kHz video output. Monitors from these machines can be made to work with the Amiga provided a suitable cable can be obtained or manufactured.
SCART monitors and TVs
The Amiga video output is able to be used with the European SCART input, and in fact some versions of some Amiga monitors such as the 1084 came with a compatible SCART cable. Unfortunately SCART is not common in Australia. If a SCART TV or monitor can be found all that is required is a suitable cable. While the construction of such a cable is outside the scope of this article this may be the subject of a future article. In the meantime just ask and we can help, or look up Amiga SCART on your favourite search engine.
Multisync LCD monitors and TVs
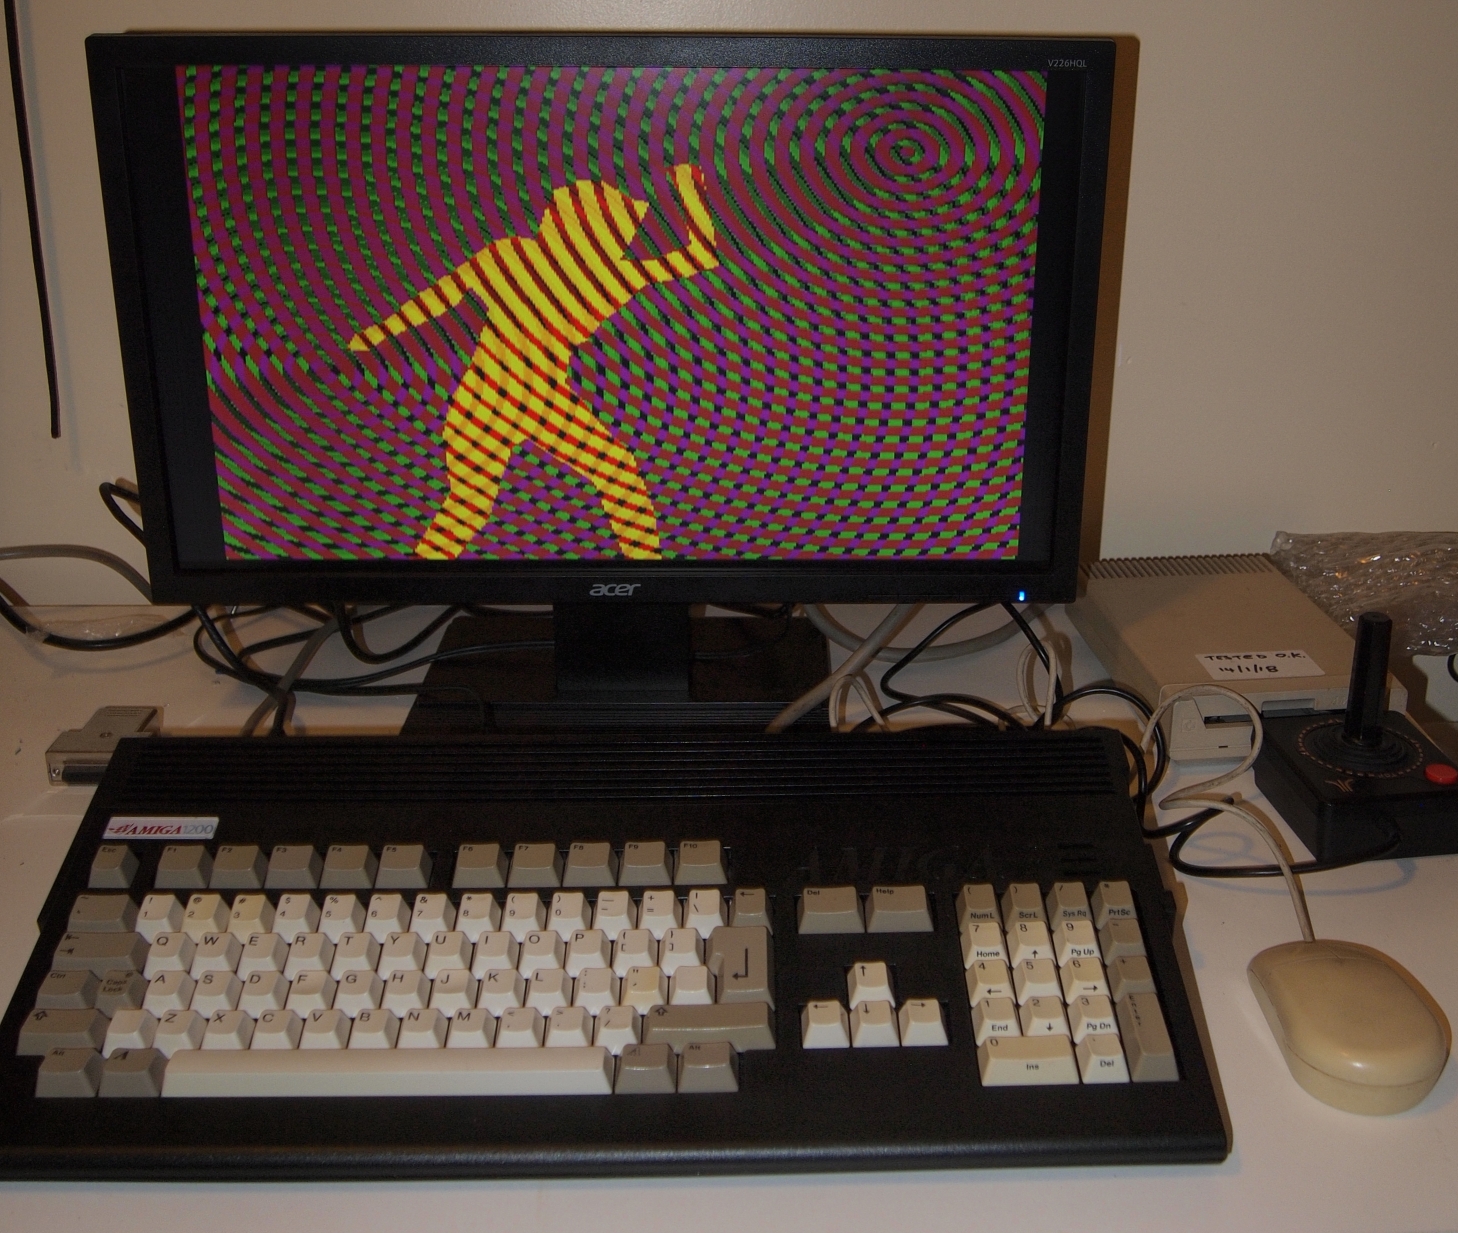
Amiga 1200 with a modern (Acer) multisync
monitor. Note the wider than usual aspect ratio
While they are not common some modern LCD monitors and TVs will accept a 15 kHz RGB signal. All that is required is the 23 pin to 15 pin buffered adapter (these are reasonably cheap, try AmigaKit or eBay) and a VGA cable. A list of monitors that MAY be compatible with the Amiga’s RGB signal can be found at http://15khz.wikidot.com/. Be careful choosing one as some monitors do not let you adjust the aspect ratio or horizontal width and can force the Amiga's video to display widescreen.
The A520
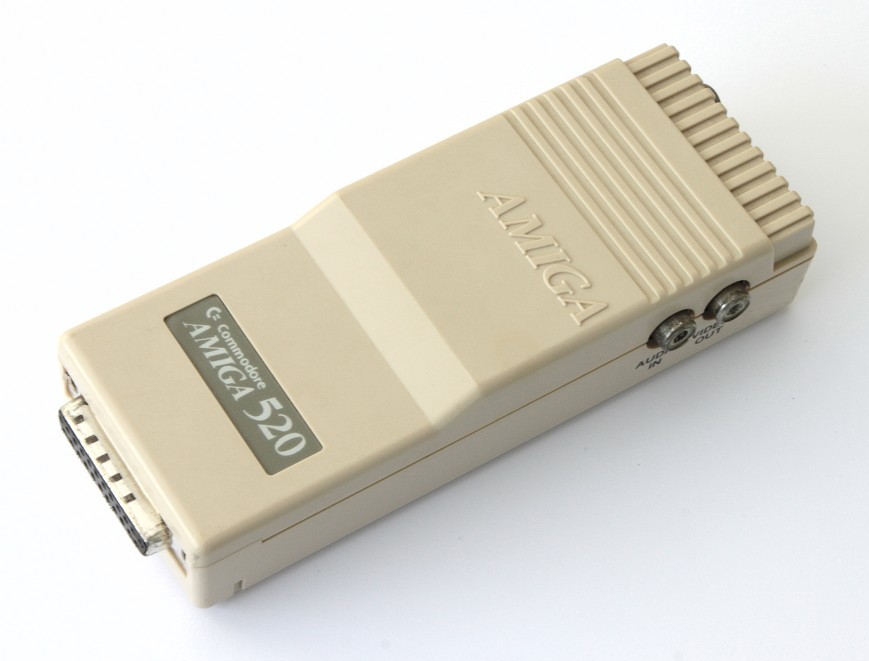
Amiga A520.
Back in the 1980s Commodore often bundled the A520 with the A500 and they are fairly common even today. The device connects to the video port of the Amiga and output a composite and RF signal for display on a television. While composite (and its RF derivative) has a poor picture quality by nature (six signals are being compressed onto one analogue line), if the only aim is to play games it is a low-cost solution. The A520 can also be modified to output S-Video for a much clearer output (S-Video being an intermediate step between RGB and Composite), refer http://members.iinet.net.au/~davem2/overclock/A520.html and note that this has not been ground-truthed by the author. Also note that there are PAL and NTSC editions of the A520, in Australia we need PAL.
Some external solutions
There are other options that connect to the Amiga’s video port. The Author is aware of at least two S-Video adapters. The first is based on the ADZ724 video encoder, and there are many versions of it on the internet including this one https://www.everythingamiga.com/2017/02/amiga-rgb-to-s-video-adapter.html (note that the schematic is for NTSC but it’s easy enough to change to PAL, also not ground truthed but no reason why it wouldn’t work).
There is an open source RGB to component (YCrCb) adapter called the A520HD by GG Labs https://gglabs.us/node/983. While it does output component video the Amiga’s output is only 240p and is not compatible with all televisions.
There is an extremely good open source scan doubler called Open Source Scan Converter http://junkerhq.net/xrgb/index.php?title=OSSC. It converts on the fly with no lag, making it ideal for games that require precision timing. It’s compatible with most retro systems and has a lot of nice features. The only real downside is the price, with kits priced at roughly $220 and preassembled on eBay for roughly $260 (it’s worth $40 to not have to build it). If you can spare the dough this is a really good option.
There is a budget option, the GBS 8220 scan converter. It works and is pretty clear, but it is pretty laggy (in the order of 4-8 frames) and often has little artefacts. It’s a reasonable solution if you can tolerate the lag and artefacts, with the eBay price roughly $30.
Internal scan doublers
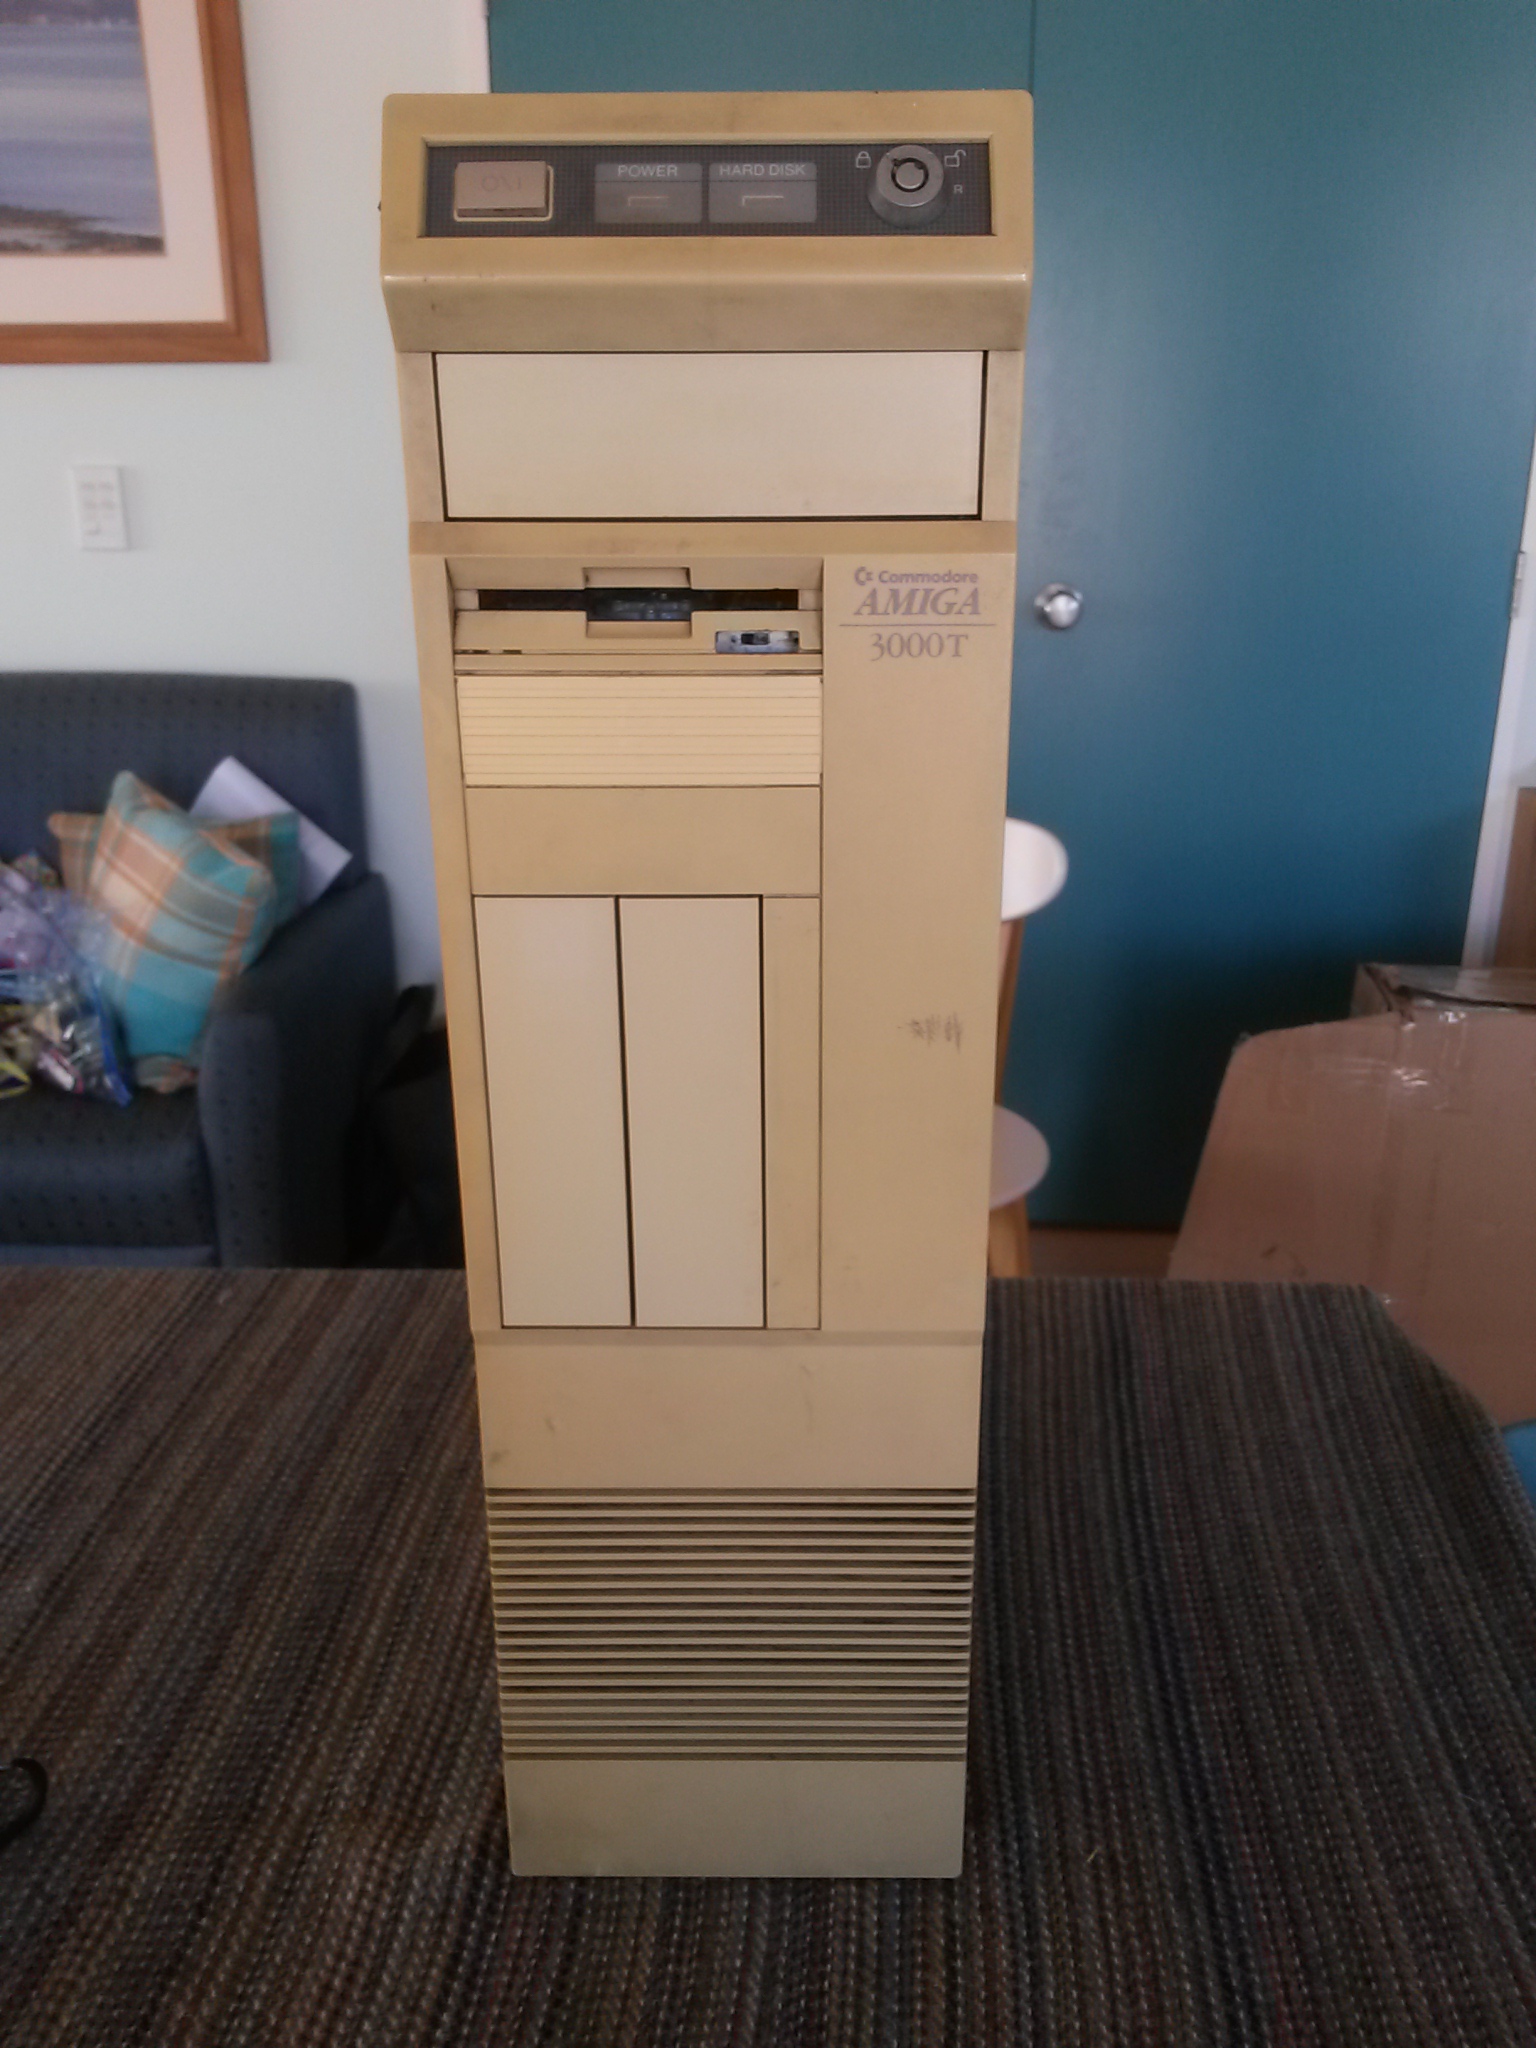
Amiga 3000T.
The Amiga 3000 has a built in flicker fixer/scan doubler based on the Amber chip. It’s the easiest way to get VGA from an Amiga – it does it from the factory! Commodore and other vendors also made internal scan doublers for the other big box machines (2000 and 4000). These are the most historically accurate scan doublers and are a good solution if budget is not a concern.
The Indivision by Individual Computers http://wiki.icomp.de/wiki/Indivision in Germany is an internal scan doubler/flicker fixer. The ECS Indivision outputs VGA compatible 31 kHz analogue video, while the AGA version outputs in HDMI.
Amiga Digital Video adapter
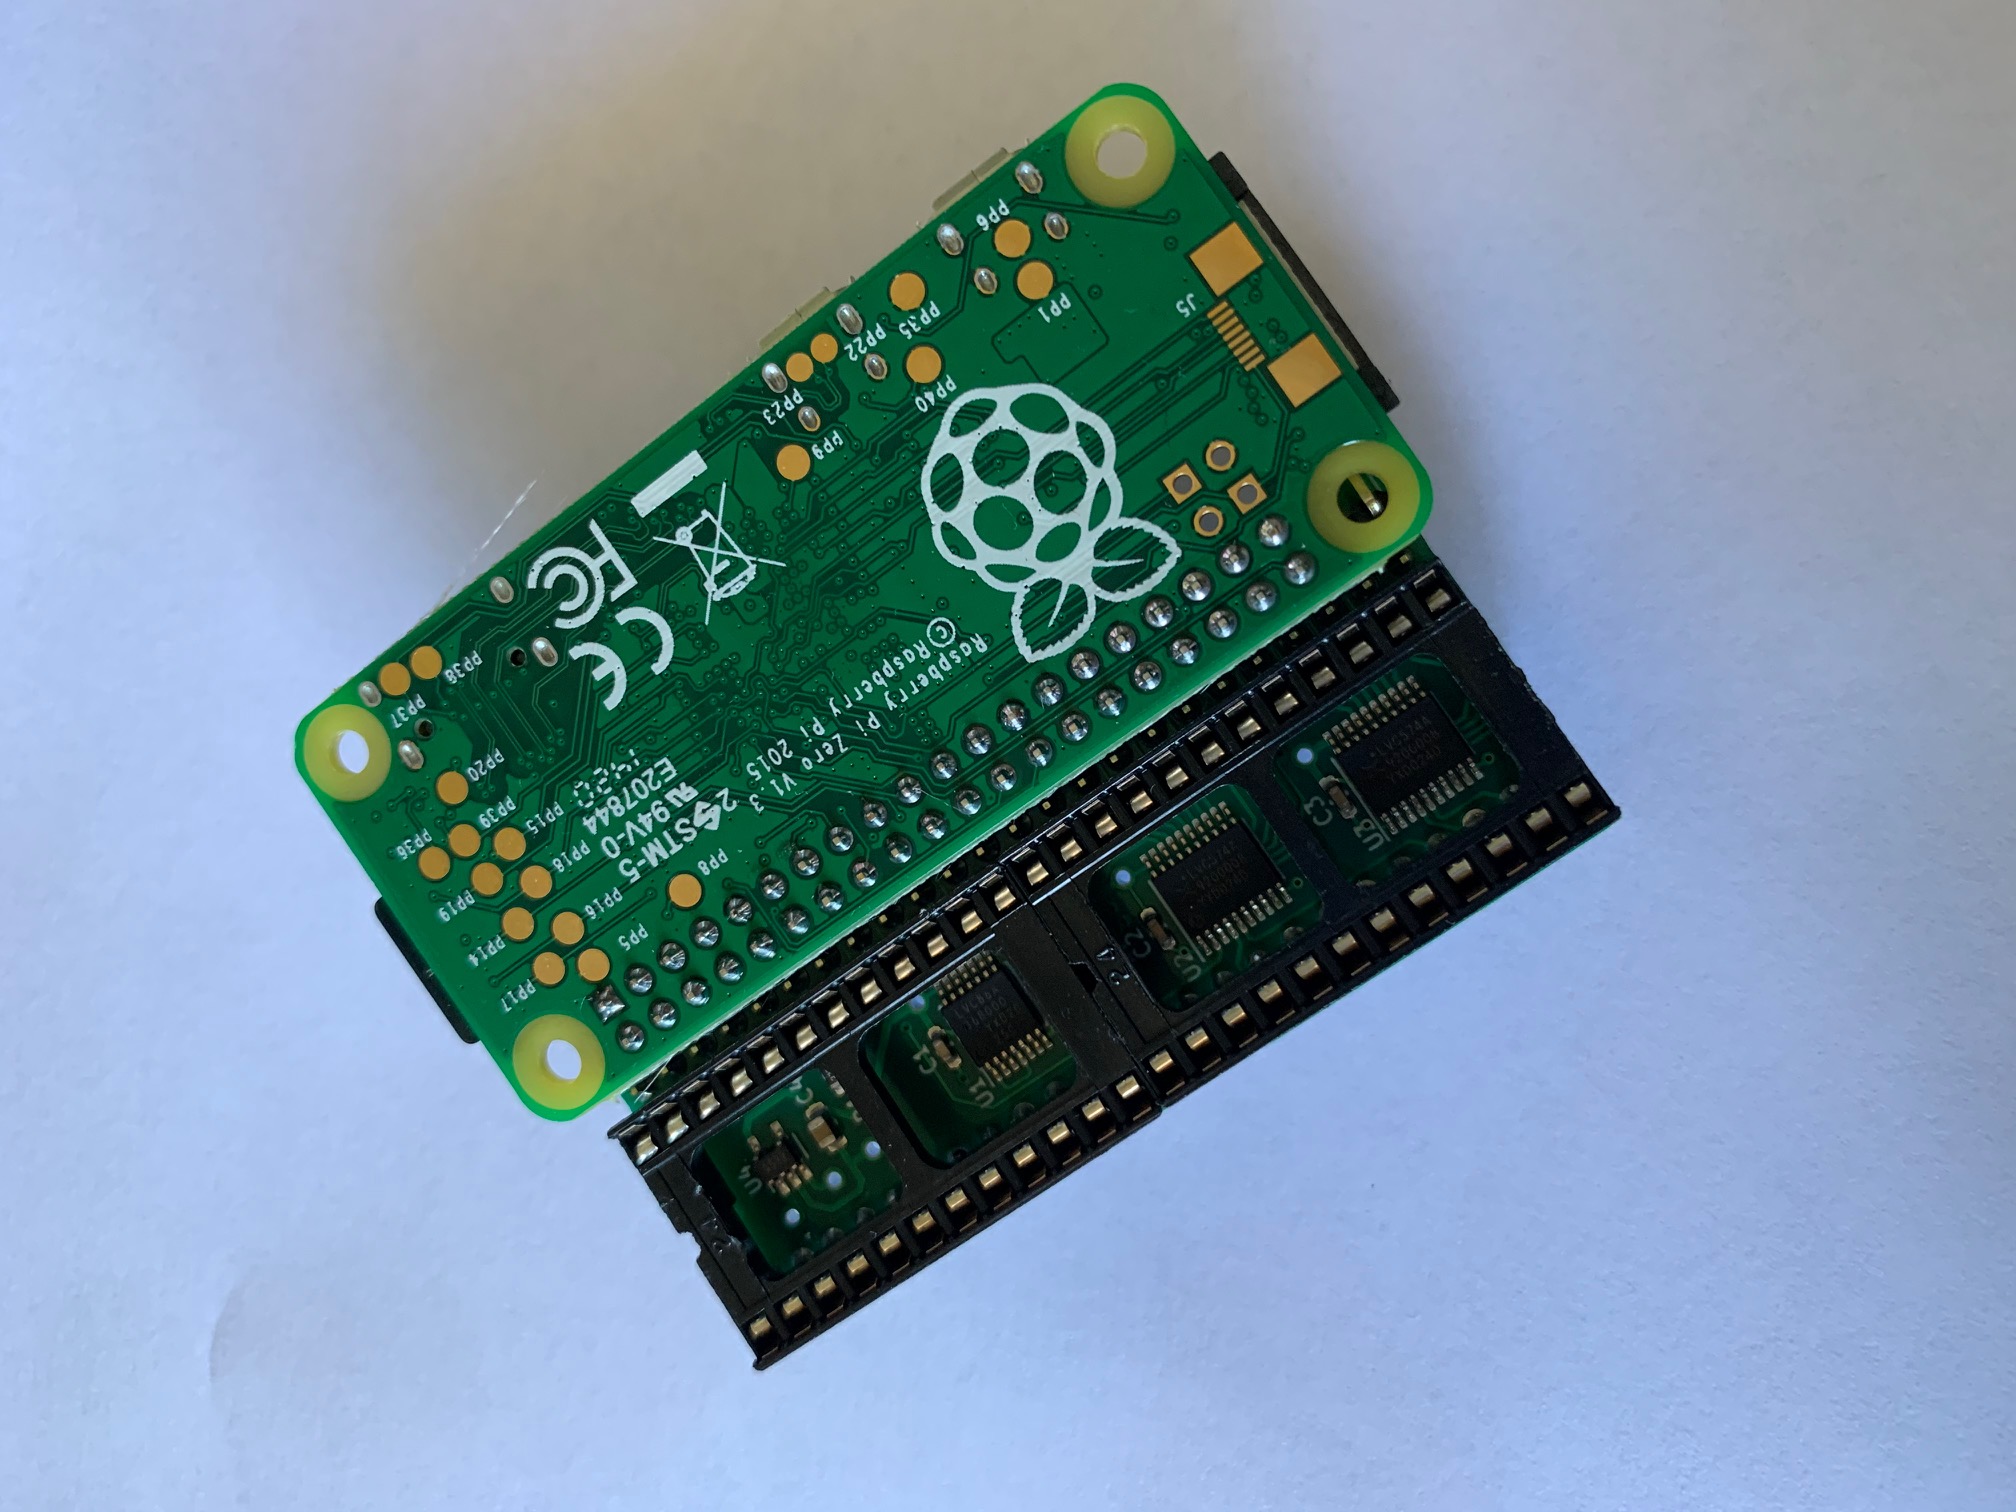
HDMI on Amiga?
The big news of 2021 was the release of an open source HDMI video adapter for OCS and ECS Amigas (i.e. A1000, A500/+, A2000, A3000, A600, CDTV). It's built around the Raspberry Pi Zero, which takes the digital outputs from Denise and outputs them to its HDMI port.
The adapter sits below Denise on the socketed systems, and there is also a version for the A2000 video port and A600 SMD Denise.
This is a game changer, with complete adapters costing under $100. You can build your own but if you only want one it will probably be more cost effective to buy one ready made. At least one ARB member makes them, and they are available on eBay.
https://github.com/c0pperdragon/Amiga-Digital-Video
Television modified to display Amiga RGB.
It is possible to modify most if not all TVs made in the 1990s and 2000s to accept an RGB input. This involves intercepting the signal between the microprocessor and the jungle chip and inserting the Amiga’s video output there instead. This option is definitely the most budget option as it uses about $10 worth of parts (plus a cable to the Amiga). This may be the subject of a future article but in the meantime try Googling “RGB hack”. Do not attempt this if you do not know what you are doing as CRTs have extremely high voltages that may still be present after the set has been unplugged; refer the disclaimer.
DB23 sockets
The DB23 sockets are pretty difficult to source, and harder still if you don’t want to pay through the nose for them. Unfortunately there is no easy answer apart from asking round or using your favourite search engine. Making cables is a pain and it can be better to get premade cables unless you are a sucker for punishment.
Australian company Microbee makes a D23 to D9 cable http://www.microbeetechnology.com.au/store/amiga-video-cable-kit-23pin-male-to-9pin-male.html suitable for some 1084 monitors, the GBS 8220, and the Red Keg SVideo adapter mentioned above. It is preassembled for $22 plus postage and is recommended as an easy solution. Amiga SCART cables can be found on eBay for roughly $30 delivered from Europe.
Another option is to cut down a D25 socket using a Dremel. It’s nowhere near as pretty as the real thing but it’s better than nothing.
Final Words
That’s it for this article. As usual if there are any questions don’t hesitate to ask, since someone else probably has the same question. Next instalment we will shift focus to emulation.


In this article we introduce the custom chips and what they do, talk about the three different types of ram and a little bit about the Zorro expansion bus. There is a discussion about really basic troubleshooting, and how to get more help if you get stuck.
In the second instalment of the Beginner Series we will introduce the various models of Amiga.
The Beginner Series of articles present an overview the Amiga computers and some of the traps to look out for when you are trying to get one running.
The first in the series introduces the series and presents the absolute basics of the Amiga - What is an Amiga, the Kickstart and Workbench, virtual device names (i.e. DF0: ) and information about running disk based games.
TinyPortal 1.6.4 © 2005-2019